Decorating your walls is one of the easiest ways to transform any room and express your personal style. Whether you live in an apartment or a house, simple do-it-yourself (DIY) projects can turn blank walls into eye-catching features. In this post, we’ll explore a variety of easy and budget-friendly DIY wall decor ideas that anyone can create with minimal materials and time. No special skills required!
Why Choose DIY Wall Decor?
DIY wall decor lets you:
– Customize designs to suit your taste.
– Save money compared to store-bought art.
– Enjoy the satisfaction of creating something yourself.
– Refresh your space with unique, meaningful accents.
Ready to get started? Let’s dive into some fun and straightforward ideas!
—
1. Framed Fabric Art
What You Need:
– Leftover fabric scraps or patterned cloth
– Picture frames (old or new)
– Scissors
– Double-sided tape or glue
Steps:
- Choose fabric with colors or patterns you love.
- Cut the fabric slightly larger than the frame size.
- Stretch the fabric across the frame backing.
- Secure with tape or glue on the back.
- Reassemble the frame and hang it up.
This method lets you easily update your walls by swapping fabrics seasonally or whenever you want a fresh look.
—
2. Washi Tape Wall Art
What You Need:
– Washi tape (decorative, removable tape)
– Pencil and ruler (optional)
Steps:
- Clean the wall surface.
- Plan your design using pencil guidelines (optional).
- Stick strips of washi tape in patterns like stripes, chevrons, or geometric shapes.
- Press down firmly to ensure tape adhesion.
Washi tape is great because it’s damage-free and can be easily changed, making it perfect for renters or anyone who loves to refresh their decor frequently.
—
3. Macramé Wall Hangings
What You Need:
– Cotton or jute cord
– Wooden dowel or branch
– Scissors
Steps:
- Cut several cords of equal length.
- Tie cords to the dowel with a lark's head knot.
- Learn a few basic macramé knots (plenty of tutorials online).
- Create your desired pattern.
- Trim ends for a neat finish.
Macramé adds a cozy, boho touch and is a relaxing craft to try if you enjoy hands-on projects.
—
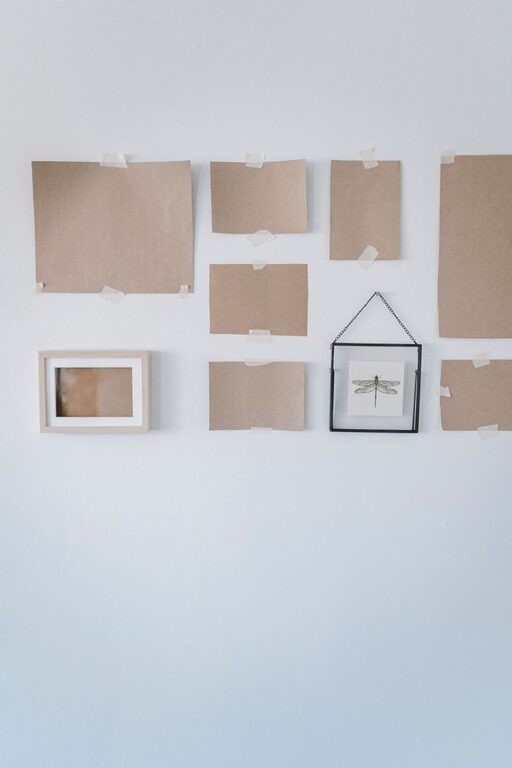
4. Gallery Wall with Printed Photos or Art
What You Need:
– Printed photos or free printable art
– Frames in matching or mixed styles
– Measuring tape and level
– Nails or picture hooks
Steps:
- Collect images that inspire you—family photos, nature prints, quotes.
- Frame your selected prints.
- Lay frames on the floor to arrange your gallery layout.
- Mark spots on the wall lightly with pencil.
- Hang frames according to your pattern.
- Adjust spacing for balance.
A gallery wall is a perfect personalized statement and can be changed over time by swapping prints or rearranging frames.
—
5. Painted Wall Stencils
What You Need:
– Wall stencils (store-bought or homemade from cardboard)
– Paint in your chosen color
– Painter’s tape
– Small stencil brush or sponge
Steps:
- Decide on a repeating pattern or a focal design.
- Secure stencil on the wall with tape.
- Apply paint lightly with a stencil brush or sponge.
- Carefully remove stencil, let paint dry.
- Repeat as desired.
Wall stencils offer a professional-looking design with minimal effort and can be tailored to fit any style or room theme.
—
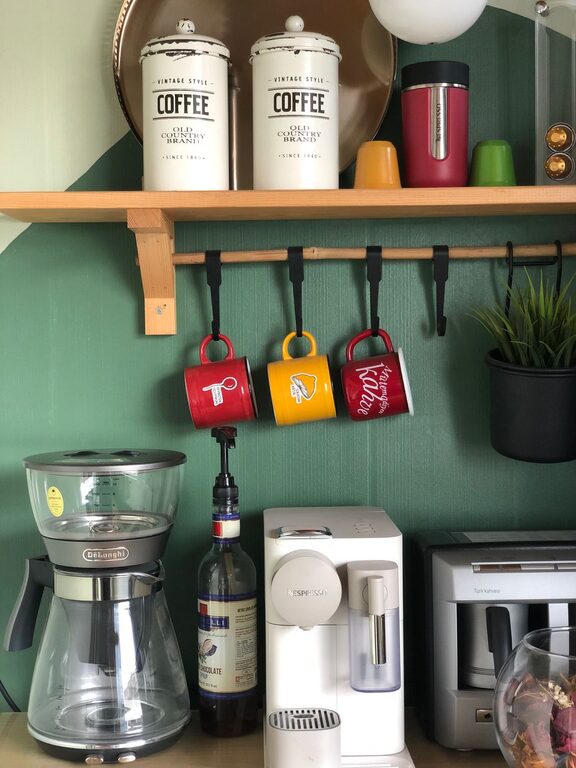
6. Floating Shelves with Decorative Items
What You Need:
– Floating shelf kits or wooden boards with brackets
– Drill and screws
– Decorative objects (plants, books, candles, trinkets)
Steps:
- Choose a location and measure for shelf placement.
- Install floating shelves securely.
- Arrange decorative items that complement your room.
- Avoid overcrowding for a clean look.
Adding shelves creates dimension on your walls and provides functional space while doubling as decor.
—
7. DIY Wooden Wall Art
What You Need:
– Wooden boards or pallets
– Sandpaper
– Paint or wood stain
– Stencils, brushes, or tape
Steps:
- Sand the wood to smooth surfaces and edges.
- Paint or stain the board to your desired color.
- Use stencils or tape to create designs or lettering.
- Let dry and hang on the wall using picture hooks or nails.
Wooden art brings natural warmth and character into any space.
—
Tips for Successful DIY Wall Decor
– Plan your space: Measure wall areas and visualize layout before starting.
– Use quality materials: This ensures your projects last longer and look polished.
– Start simple: If you’re new to crafting, pick easy projects and build skills over time.
– Mix and match: Combine various decor styles for a personalized look.
– Keep it balanced: Avoid overcrowding walls to maintain a clean and inviting atmosphere.
—
Final Thoughts
Decorating your walls doesn’t need to be complicated or expensive. With these easy DIY ideas, you can refresh your home while enjoying the creative process. Whether you prefer fabric art, painted designs, or natural wood, these projects are flexible enough to fit any style and skill level. So gather your materials, let your imagination run free, and give your walls a makeover they’ll love!
Happy decorating!
About the Author